Understanding Press-On Nails
Press-on nails are a quick and easy way to get fancy nails without spending hours at the salon. They’re super popular now and come in tons of cool styles.
What Are Press-On Nails?
Press-on nails are fake nails you can stick on your own nails at home. They’re usually made of plastic and come in different shapes and sizes. You just pick the ones that fit your nails best.
To put them on, you use a special glue or sticky tabs. It only takes a few minutes, and boom – you’ve got a perfect manicure!
The best part? You can take them off whenever you want without damaging your real nails. It’s way gentler than other fake nail options.
Advantages of Press-On Nails
I love press-ons because they’re so easy to use. You don’t need any special skills or tools – just stick them on and go!
They’re also way cheaper than getting your nails done at a salon. A set of press-ons can last for weeks if you take care of them. That’s a lot of bang for your buck!
Another cool thing is how many designs you can choose from. Want glittery nails one day and simple French tips the next? No problem! You can switch up your look whenever you feel like it.
Different Types of Press-On Nails
There are so many types of press-ons out there. Some are short and natural-looking, perfect for everyday wear. Others are long and dramatic – great for special occasions.
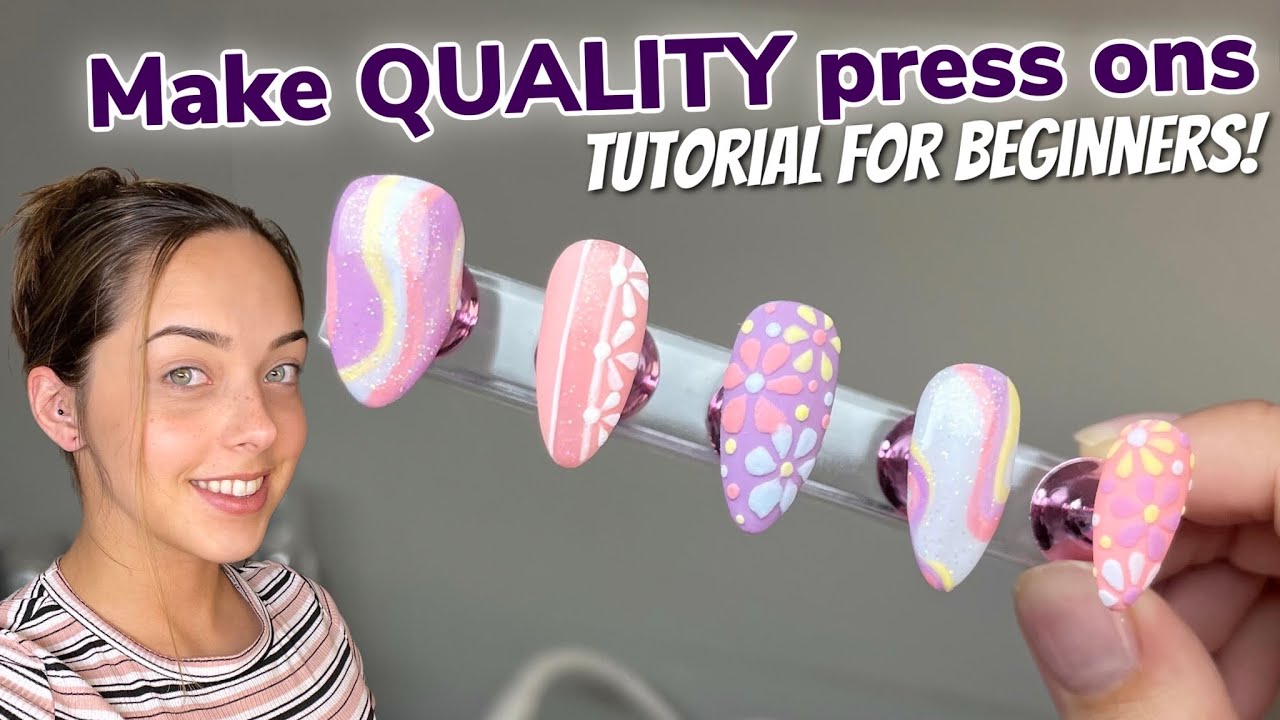
You can find press-ons in every color under the sun. Some even have cool designs like flowers or animal prints.
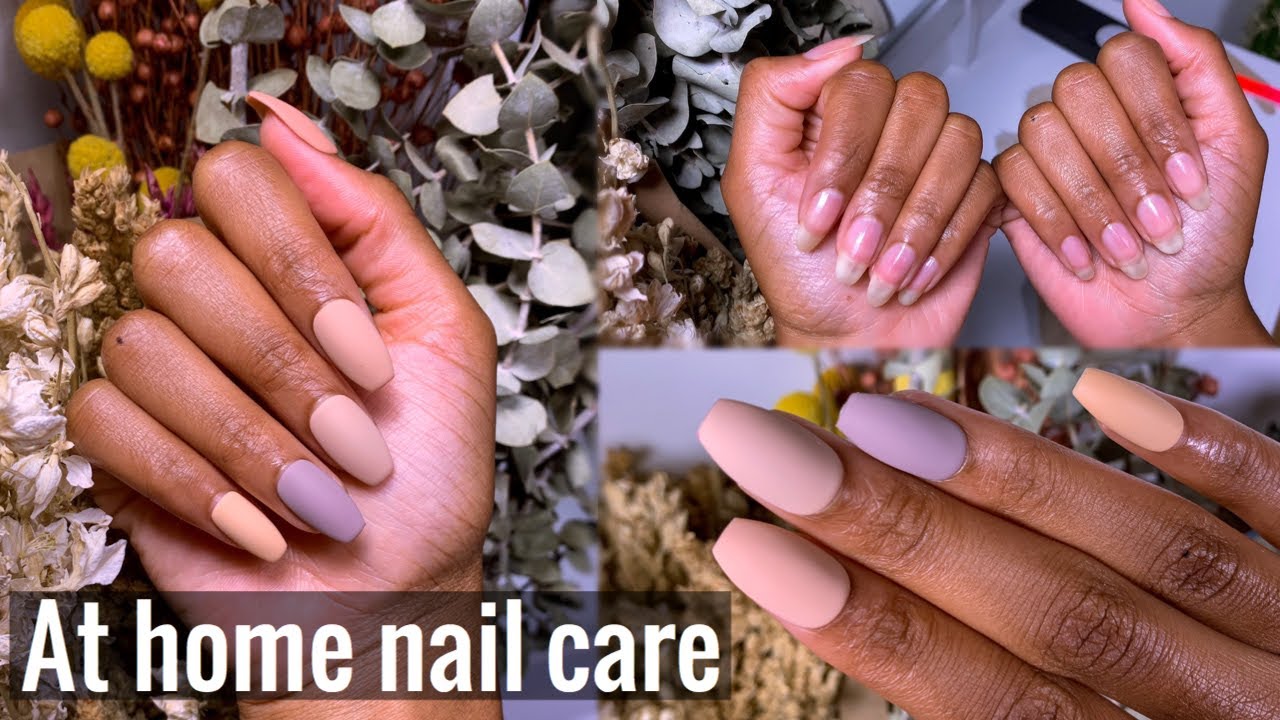
There are also different finishes. Glossy ones look like a fresh gel manicure. Matte ones give a more subtle look. Some even have a chrome or holographic finish for extra sparkle.
The material can vary too. Most are plastic, but you can find some made of softer, more flexible materials that feel more like real nails.
Getting Started with Press-Ons
Let’s dive into how to get started with press-on nails. I’ll walk you through picking the right size and getting your natural nails ready.
Selecting the Right Size
Finding the perfect fit is key for press-ons. I like to start by measuring my nails with a ruler. Most kits come with different sizes, so I match each nail to the closest size. If a size is between two options, I go for the smaller one. It’s better to file down a slightly big nail than have one that’s too small.
For a natural look, I make sure the press-ons aren’t wider than my nail bed. Some brands offer sizing guides online, which can be super helpful. I always double-check sizes before sticking them on.
Prepping Your Natural Nails
Getting your nails ready is a must for long-lasting press-ons. First, I wash my hands and dry them well. Then I use a nail file to gently shape my natural nails. I’m careful not to file too much – just enough to smooth any rough edges.
Next, I push back my cuticles with a cuticle stick. This gives more space for the press-ons to stick. I wipe my nails with nail polish remover to get rid of any oils. This helps the glue stick better.
If I want extra durability, I might use a base coat. But usually, clean, dry nails are all I need for press-ons to stay put.
The Application Process
Applying press-on nails is pretty simple once you get the hang of it. I’ll walk you through the key steps to get those fake nails looking flawless.
Applying Adhesive or Glue
First things first, we need to stick those nails on. You’ve got two main options: adhesive tabs or nail glue.
Adhesive tabs are super easy. Just peel off the backing and press onto your nail. They’re great if you want to switch up your look often.
Nail glue is stronger and lasts longer. Put a tiny drop on your natural nail and spread it evenly. Be careful not to use too much, or it’ll get messy.
I like to prep my nails first by pushing back my cuticles and giving them a quick buff. This helps the adhesive stick better.
Aligning and Applying Nails
Now for the fun part – putting on the nails!
Start with your pinky and work your way in. This makes it easier to place the rest. Line up the fake nail with your cuticle, then press down firmly from the center outward.
Hold each nail for about 30 seconds to make sure it’s secure. If you’re using glue, wipe away any excess that squeezes out with a cotton swab.
Take your time with this step. Getting the alignment right is key for a natural look.
Ensuring Long-Lasting Wear
Want your press-ons to last? Here are my top tips:
- Avoid water for the first few hours after application
- Apply a clear top coat for extra shine and protection
- Be gentle with your hands, especially when they’re new
If a nail starts to lift, don’t pick at it. Just add a dab of glue under the edge and press it back down.
With good care, your press-ons can look great for a week or more. When you’re ready for a change, gently soak them off in warm, soapy water.
Styling and Customization
Press-on nails let you get creative with your look. You can mix things up and try new styles whenever you want.
Choosing Your Nail Art Design
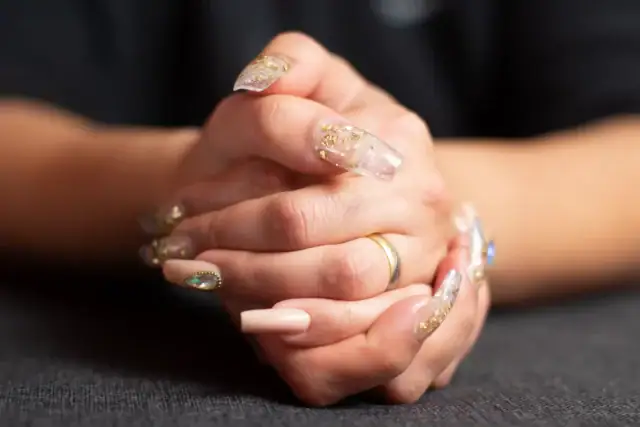
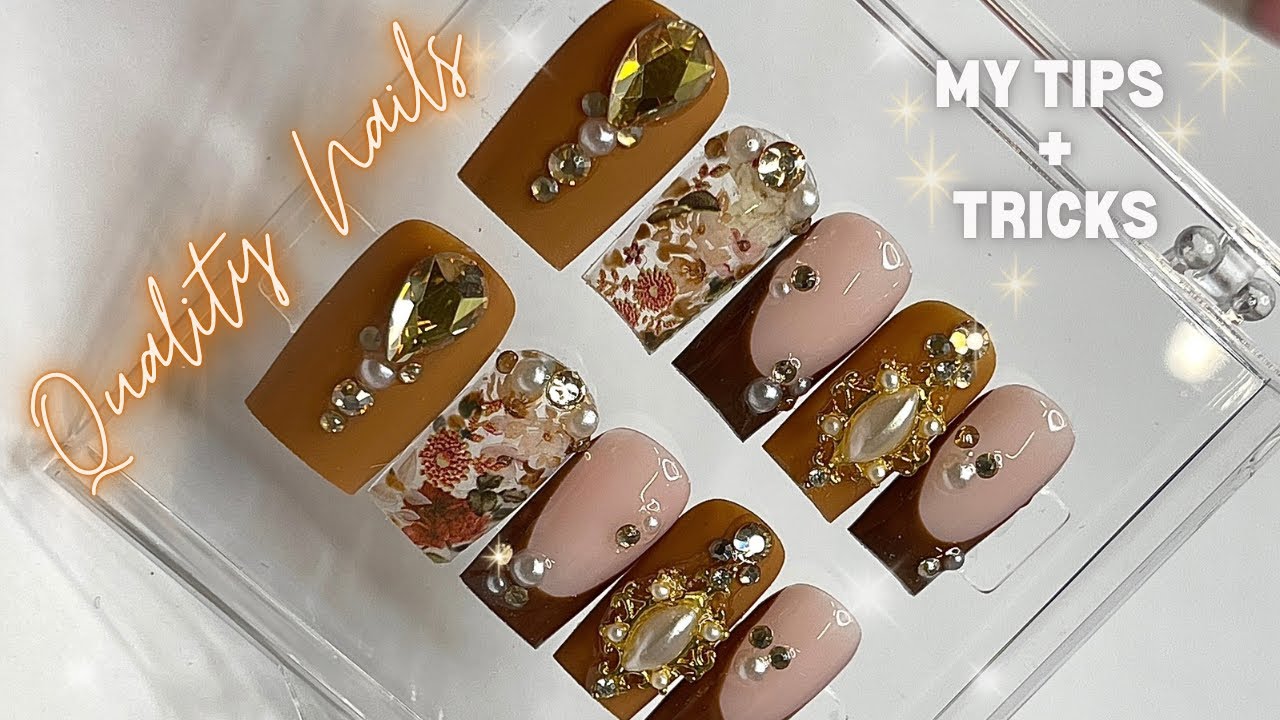
I love how press-on nails come in so many fun designs. You can pick solid colors for a classic look or go bold with trendy patterns. Floral prints are super cute for spring and summer. For a night out, sparkly designs add some glam.
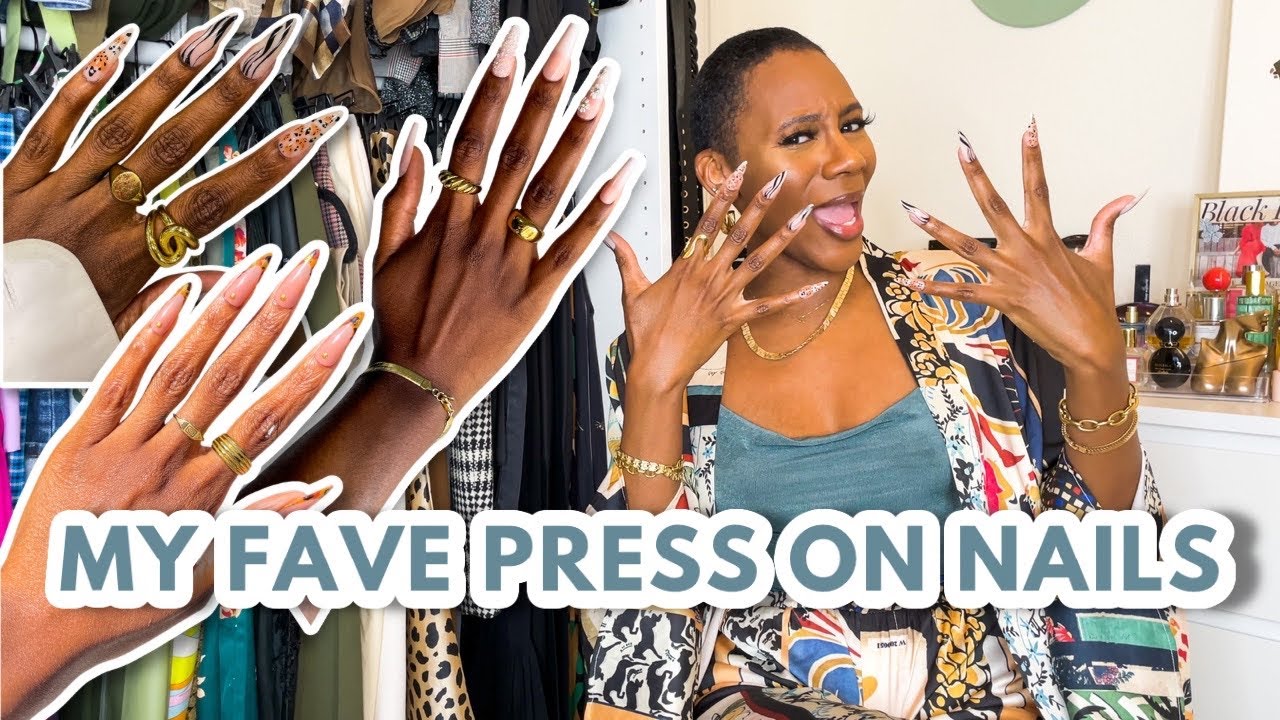
French tips are always classy. But you can spice them up with colored tips instead of just white. Animal prints like leopard spots are fierce if you’re feeling wild. Geometric shapes and abstract art are cool options too.
Mixing and Matching for Unique Looks
Why stick to just one design? I like to mix and match different nails for a one-of-a-kind style. You could do a different color on each finger. Or try an accent nail with a fun pattern.
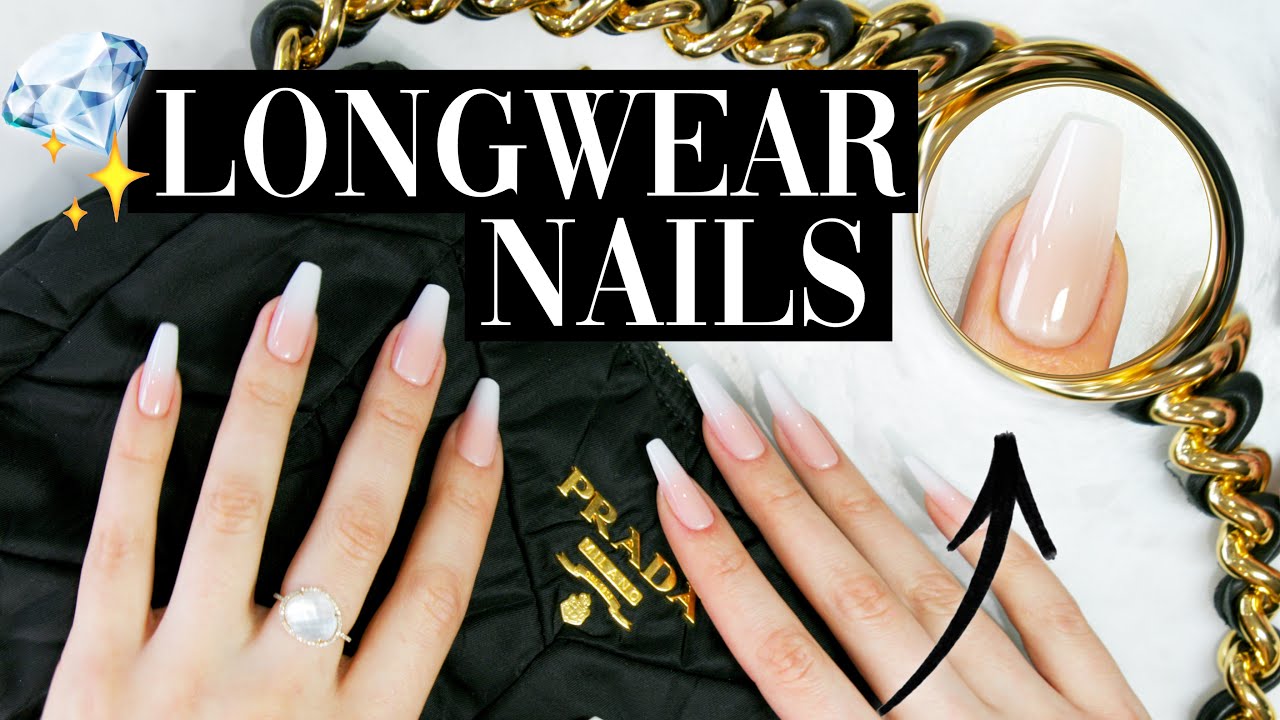
Ombre looks are pretty – go from light to dark across your nails. For holidays, you can do themed nails. Think orange and black for Halloween or red and green for Christmas. The options are endless! Play around and find combos you love.
Press-On Nail Brands to Explore
I’ve found some awesome press-on nail brands that I think you’ll love. From fancy designer options to affordable drugstore finds, there’s something for everyone.
High-End and Designer Collections
Static Nails is my go-to for luxe press-ons. Their designs are super trendy and the quality is amazing. I’m also obsessed with Chillhouse – their nail art is always on point. For a splurge, OPI’s press-on line gives you that salon-quality look at home.
Glamnetic is another brand I’m into lately. Their magnetic press-ons stay put forever. And if you want some serious glam, Dashing Diva has gorgeous rhinestone and glitter options that make me feel like a celeb.
Drugstore Favorites
When I’m on a budget, Kiss Impress nails are my jam. You can find them at most drugstores and they have tons of cute styles. Sally Hansen also makes great affordable press-ons that last a while.
I love grabbing a pack of these when I’m in a rush. They’re so easy to pop on before heading out. The designs keep getting better too – some look just as good as the pricier brands.
For DIY fans, there are lots of press-on nail kits available now. It’s fun to mix and match colors and designs to create your own unique look.
Maintaining Your Press-Ons
Taking care of your press-on nails helps them last longer and look better. I’ll share some easy tips to keep your nails in top shape.
Daily Care Tips
I always make sure to be gentle with my press-ons. I avoid using them as tools to open things or scratch surfaces. That can damage the nails or make them pop off.
I like to apply a little cuticle serum around the edges of my press-ons every day. It keeps the skin healthy and helps the nails stay put.
When I wash my hands, I pat them dry instead of rubbing. This stops water from getting under the nails.
I also use a manicure stick to gently push back my cuticles once a week. It keeps everything looking neat and tidy.
When to Replace Your Press-Ons
I usually change my press-ons after about 1-2 weeks. But sometimes they need replacing sooner.
If a nail starts to lift, I take it off right away. Leaving it on can lead to dirt getting trapped underneath.
I also replace my nails if they get chipped or scratched. Damaged nails don’t look as good and can snag on things.
When the design starts to fade or wear off, that’s another sign it’s time for a change.
Some brands make press-ons from recycled plastic. These can be a great eco-friendly option when it’s time for new nails.
Removal and Aftercare
Taking off press-on nails and caring for your natural nails afterward is important. Let me walk you through the process step-by-step.
How to Remove Press-On Nails Safely
I’ve found a few good ways to take off press-ons without damaging my nails. One easy method is soaking them in warm, soapy water for about 10-15 minutes. This helps loosen the adhesive.
After soaking, I gently pry up the edges with an orange stick. Then I slowly peel the nail off from the sides. If it’s stubborn, I soak it a bit longer.
For tougher adhesives, I use acetone. I soak cotton balls in acetone and wrap them around my nails with foil. After 10-15 minutes, the nails usually slide right off.
Never force a press-on nail off! That can really hurt your natural nail.
Post-Removal Nail Care
Once the press-ons are off, I like to give my nails some TLC. First, I wash my hands to get rid of any leftover adhesive or acetone.
Next, I gently file any rough edges on my natural nails. Then I apply cuticle oil to nourish them.
I follow up with a good hand cream to moisturize. This helps prevent my nails from getting dry and brittle.
It’s smart to give your nails a break between applications. I try to go a few days without any polish or press-ons to let them breathe.
If my nails feel weak, I use a strengthening base coat for a while. This helps them recover faster.
Environmental Considerations
Press-on nails can have an impact on the environment. I want to explore some eco-friendly options that are available for those who care about sustainability.
Sustainable Press-On Nail Options
I’ve noticed more brands offering press-ons made from recycled plastic and other post-consumer recycled materials. These are a great choice if you want to reduce waste. Some companies even use plant-based ingredients instead of synthetic plastics.
Reusable press-ons are another good option I’ve tried. I can get multiple uses out of a single set by carefully removing and reapplying them. This cuts down on how many I need to buy.
I’ve also seen biodegradable press-ons hitting the market. They break down naturally after disposal, which is pretty cool.
When shopping, I look for minimal packaging made from recycled materials. Every little bit helps!

