
When I first heard about 3D nail art, I was intrigued. This style takes nail designs to a whole new level by adding texture and dimension. It’s not just about polish anymore; it’s about turning your nails into tiny canvases for creativity.
3D nail art involves using materials like acrylic, gel, or even small jewels to create raised designs on your nails. Imagine little flowers, cute bows, or even mini animals perched right on your fingertips. It’s a fun way to express yourself and make your manicure stand out.
Trying it was an adventure. I felt like an artist, carefully crafting each nail to tell a story. 3D nail art isn’t just a beauty trend; it’s a cool form of self-expression that lets me show off my personality in such a unique way.
Understanding 3D Nail Art
3D Nail Art is all about adding extra depth and detail to nails. It brings a new level of creativity, with raised designs and textures that you can feel, not just see.
The Basics of 3D Nail Art
3D Nail Art uses small decorative items to create a bumpy, three-dimensional effect on nails. Think of little gems, beads, or tiny sculptures sitting on top of regular nail polish. I love how these added pieces can make simple designs pop in a big way.
Some tools used include special gels or acrylics to attach the pieces securely.
When creating 3D designs, it’s important to start with a firm base coat. Then, the fun begins as each piece is carefully placed and arranged. This part takes a steady hand and a bit of patience, but the results are worth it.
There’s something really satisfying about seeing the designs come together, layer by layer.
Differentiating 3D from Regular Nail Art
Regular Nail Art stays flat, using designs painted directly onto the nail. It might include basic patterns, colors, or stickers. While these can be beautiful, they lack the depth you find in 3D styles.
In contrast, 3D Nail Art stands out with its textured look. You can feel it when you run your fingers over it.
Texture and dimensions make all the difference. When I choose a 3D style, I’m going for something truly unique. It’s fun to play with themes or colors in ways that simply aren’t possible with regular Nail Art. If you want nails that are a conversation starter, 3D is definitely the way to go.
Getting Started with 3D Nails
When jumping into 3D nail art, it’s all about having the right tools and prepping the canvas—your nails, of course. Before you know it, you’ll be crafting eye-catching designs that are bound to turn heads.
Choosing the Right Materials
To begin with 3D nails, picking the right stuff is key. Start with nail glue because it holds designs in place. I’d recommend a strong glue that’s easy to handle.
Next, select the 3D decorations, like gems, beads, or tiny shapes. These will pop and make your nails stand out. Use a variety of sizes and colors to get creative.
Then, think about nail shapes. Whether you go for square, almond, or stiletto, this will affect how your 3D designs look. Some shapes might work better with certain designs.
Don’t forget tools like tweezers to place decorations and a small brush for glue.
Prepping Your Nails
Preparation starts with clean, natural nails. Wash your hands and remove old polish. It’s important to have a smooth base, so gently file your nails to the shape you want.
Buff them lightly to create a surface the glue can stick to. Take care not to over-buff, which can make nails weak.
Next, apply a base coat to protect your nails. This keeps them healthy and prevents staining from glue or polish. Allow the base coat to dry completely.
With clean, shaped, and prepped nails, you’ll have a solid foundation for your 3D creations.
3D Manicure Techniques
When it comes to 3D manicures, there’s a whole world of creativity at your fingertips. From sparkling rhinestones to delicate flowers, each technique helps you express your style in a unique way. French tips with a 3D twist add extra flair and elegance.
Working with Rhinestones
Rhinestones can make any 3D manicure shine. First, I pick my favorite rhinestone colors and sizes. I like using tweezers because it makes placing them easier, especially for small stones.
A sticky base coat is key to making them stick without slipping.
I place rhinestones one by one, using a dotting tool or toothpick for precision. Patterns and shapes can range from simple lines to complex designs.
After arranging them, I apply a generous amount of topcoat. This seals everything in place, making sure the stones stay put. Keeping it all neat is important for a polished look.
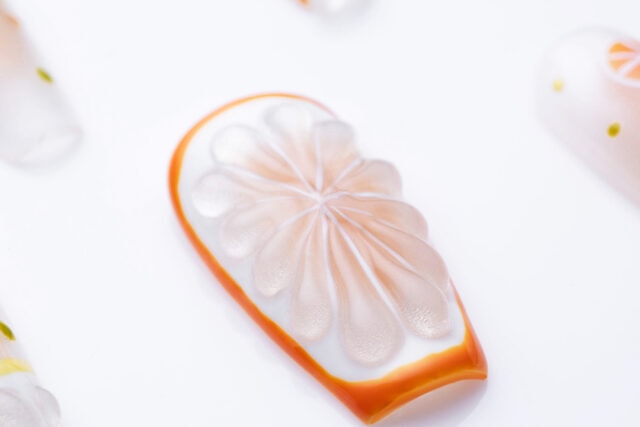
Creating 3D Flowers
3D flowers add a delicate touch to nails. I enjoy creating them using acrylic powder. This material is flexible and lets me form different shapes.
First, I mix it with liquid to get a dough-like texture. Then, using a brush, I carefully sculpt petals and arrange them on the nail.
Layering is important here because it adds depth to the flower. I like experimenting with shades to make them look more real.
Once the flowers are set, I finish with a clear topcoat. This not only protects the flower but also gives it a glossy finish. My favorite part is seeing the flowers pop out in vivid detail.
Fashioning 3D French Tips
French tips with a 3D twist are a fun twist to the classic look. I start with the usual white tips, but with a gel polish that gives extra gloss.
The 3D element comes from, let’s say, adding small beads or tiny studs along the line of the tip.
Combining textures works too. I sometimes use velvet powder for a soft look or even metallic films for something more striking.
When I’m done, an extra layer of topcoat keeps the details intact. It’s all about giving that timeless style a modern update. Working with different materials helps create a completely fresh French manicure.
Design Inspiration
When I think about 3D nail art, I imagine many inspiring designs. Whether you’re working with short nails or planning for special occasions, there’s a lot to explore.
3D Nail Designs for Short Nails
You don’t need long nails to rock 3D designs. Short nails can be just as stunning. I often use tiny embellishments like beads, gems, and mini studs. They’ll add texture and personality without overwhelming the nail.
3D rose nail art is a sweet option for short lengths. I like to use small rose shapes and cluster them at the corner. It’s dainty yet eye-catching.
Another idea is mixing textures. Combining matte with glossy surfaces can create a chic effect. I sometimes use small pearls or metal studs to give a classy look.
It’s about finding balance and not overcrowding the nail.
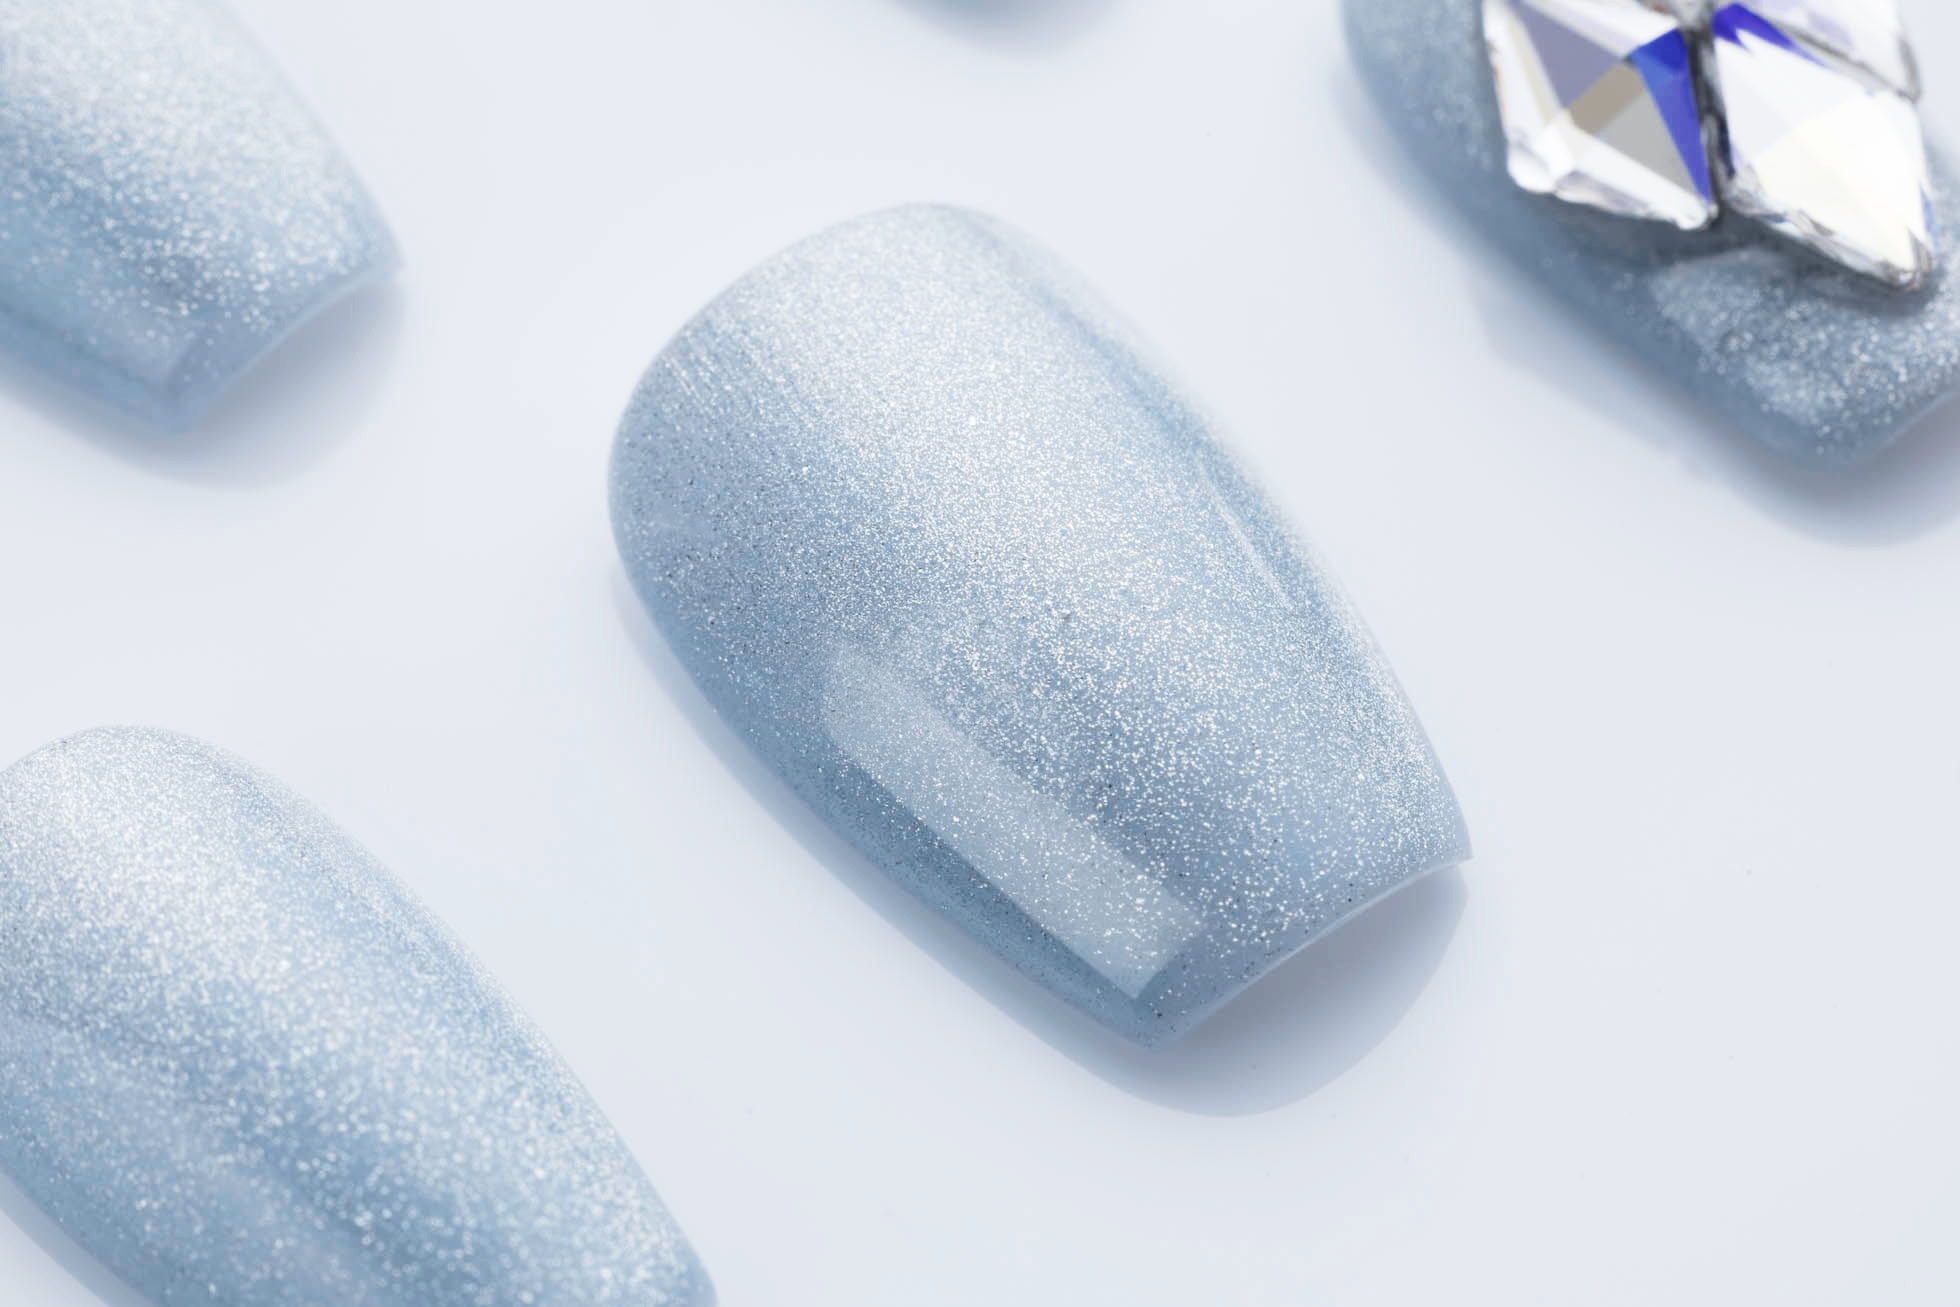
Seasonal Themes & Occasions
Seasonal designs are super fun. During winter, I love creating 3D snowflakes. Adding small, glistening snowflakes atop a frosty blue background can make your nails feel like a winter wonderland. It’s perfect for holiday parties.
For spring, floral designs bring freshness. Little blossoms or even 3D roses can capture the blooming season vibes. I often choose pastels as a backdrop for a delicate, lively look.
Special occasions call for unique designs. Weddings might inspire elegant touches like lace patterns and pearl accents. For Halloween, playful designs with pumpkins or ghosts can make your nails pop.
In each season and celebration, there’s a chance to try out new ideas. That’s what makes 3D nail art so exciting for me.
Advanced 3D Nail Art
Advanced 3D nail art is about taking your skills to the next level. It combines expert techniques with innovative embellishments to create standout designs. Let’s explore how to make these designs pop with a combination of texture, shape, and creativity.
Expert Techniques
To achieve beautiful 3D nail art, you need to focus on specific techniques. One important method is layering.
By applying multiple layers of gel or acrylic, I can create a vibrant effect. This adds depth and makes the designs look more complex.
Another technique I use often is sculpting with acrylic or gel. By using a small brush, I can shape tiny flowers, bows, or other elements.
The key is precision and patience. Sometimes I use molds to help with this intricate process.
Embedding objects into nail layers is also a must-try. Little gems or decals can be set under a clear layer of polish, giving a smooth yet detailed appearance.
With practice, I’ve mastered these approaches, creating nails that are true works of art.
Innovative 3D Embellishments
When I want to be adventurous with my nail art, I add unique embellishments.
Crystals and gemstones are absolute stunners in this area. By combining different sizes and colors, I can achieve a striking and luxurious look.
I also like playing with metallic accents. Foil, studs, or chains provide an edgy feel.
They can be arranged in patterns to catch the light in interesting ways. It’s all about balance, ensuring the nails look stylish without being over the top.
Sometimes, I use textured powders for a different finish. Velvet or holographic powders can give nails a special touch.
Mixing and matching these embellishments can transform a simple design into something extraordinary. This combination is what sets advanced 3D nail art apart from the rest.
Maintaining Your 3D Nails
Taking care of 3D nails can keep them looking fresh and beautiful. It involves some care at home and occasionally going back to the salon.
Aftercare Tips
I always start by being gentle with my 3D nails. Avoiding rough activities helps prevent damage to the artwork.
For cleaning, a soft brush and mild soap do wonders. It’s important to dry them properly to avoid any moisture getting trapped.
A clear topcoat is my best friend here. Applying it every few days helps maintain the shine and protects the design.
Keep my hands moisturized by using a nourishing hand cream. It keeps both my skin and nails healthy.
When doing chores, I wear gloves to avoid scratches and chemicals. These little steps keep my nails looking fabulous for longer.
Touch-Ups and Longevity
3D nails need some regular touch-ups to stay in top shape. I typically visit the salon every 2-3 weeks, especially for a gel manicure. It keeps the base strong and prevents chipping.
Between visits, I sometimes notice that a few pieces might lift. A small dot of nail glue at the edges can secure them back in place.
If a decoration falls off and the salon visit is far, having some matching decorations at home helps in quick fixes.
Taking these extra steps helps me enjoy my stunning nails for weeks.
Types of 3D Nail Art Products
3D nail art can really make nails pop with texture and design. There are two main types of products to explore: Acrylics and Dip Powders and Adhesives and Sealers.
Acrylics and Dip Powders
When I think of adding depth to my nail designs, I often reach for acrylics or dip powders.
Acrylic is like magic. Mix liquid with a powder, and you get a paste that can be sculpted into any shape. After it hardens, you can paint it with nail polish or other colors.
Dip powders are another fun option. You start with a base coat on your nail, dip it into the powder, and then seal it with a top coat.
It’s quick, and the results are striking. These powders are strong and can last a long time, which makes them a favorite for bold nail art.
Adhesives and Sealers
To make sure all the fun stuff sticks to my nails, I use adhesives. Think of them like glue, but for nails.
Nail glue is super handy for attaching gems, studs, or any 3D embellishments. This keeps them secure on your nails until you’re ready for a change.
After attaching any decorations, I seal everything with a top coat. This last step is like adding a protective shield.
Not only does it lock everything in place, but it also gives the nails a glossy finish. Using a good sealer means my nail art lasts longer and stays looking fresh.
